Pages

Sunday, September 15, 2013

Label Thinlit Card with Extended Flap

The Possibilities of the Thinlit Card Dies
 (idea of extended flap card inspired by Dawn Olchefske)
I created a card using the new Label Card Thinlit Die (#133479), but I used the method of adding the extended flap to the card.  I found a video from another demonstrator (DOstamping with Dawn) very helpful to do this technique.  For the cardstock of the card color, I used Very Vanilla paper.  I also used the word "hi" from this Label Thinlit Die set on the front and then added rhinestones (#119246).
Label Card Thinlits DieLabel Card Thinlits Die
To add the colors on the front of the card, I used the masking tape technique.  I chose to use the thicker masking tape to apply the ink instead of the thinner.  I did one flap at a time and put a piece of scrap paper under it so as not to get the ink on the rest of the card.  I used the new in-colors to ink it:  Baked Brown Sugar (#131174), Coastal Cabana (#131175), and Crisp Cantaloupe (#131176).  I also put two strips of the 3/8" Coastal Cabana Ruffle Stretch Ribbon (#130024) on the edge of the extended flap.
Coastal Cabana 3/8 Ruffle Stretch Trim
 Speaking of the beautiful ribbons you can use on this card, look at this lovely ribbon holder my husband is making.  If you are interested in purchasing a ribbon holder for your crafting room, then you can check out my new Etsy Shop (AngStampinStuff).
Well, this is just one of the many possibilites of cards that you can create with the new thinlit dies, so have fun and see what you can make!


Thursday, August 15, 2013

Paper Pumpkin Brag Book

Look what you can do with Paper Pumpkin!
 
 
Get your Paper Pumpkin now before this special ends at the end of August!  New subscribers can get Paper Pumpkin for only $10 for the first two months, plus tax, through August 31.  Here is a recent Paper Pumpkin that I have created, which is the Good Life Brag Book.
 
The Paper Pumpkin included the embellishments, ink, stamp, paper, adhesive accents, chipboard, and loose-leaf rings.
 
 
 My book is complete after only short time during the afternoon; now to find the perfect pictures to include in it!  I covered the chipboard with some of the DSP provided to decorate the covers and then used the other materials to decorate the pages.
 
You can also add additional stamps or embellishments to your Paper Pumpkin if you'd like to create it a little more.  As an addition, I also used the Gorgeous Grunge stamp set (W #130514, C #130517) with the stamp pads Pool Party (#126982) and Calypso Coral (#126983).
 Gorgeous Grunge
Gorgeous Grunge Stamp Set


Have fun stamping and creating your brag book with your Paper Pumpkin!


Monday, August 5, 2013

Another Sweet Essentials Card

Using the Faux Suede Technique
 
This is another card using some similar colors and the same DSP as the previous posted card.  I am going to show you how you can use some of the same papers and stamp sets as the last card to create a different look with different embellishments. 
 
I used Crumb Cake paper (#120953) as the card background, on the back of the rectangle strip, and on the flower that was punched.  I used the Calypso Coral (#126983) ink to sponge the Tea Lace Paper Doily (#129399) and to stamp the words in the top right of the card.  I used 'so kind of you' from the Sweet Essentials stamp set (#C126457, W132085).  I then added pearls jewels (#119247) to the corner of the card
Tea Lace Paper Doilies
Tea Lace Paper Doily (#129399)

To create the rest of the card I used the Epic Day This and That DSP (#130814) and adhered it to the crumb cake strip.  When creating the flower, I used the Blossom Punch (#125603) and the technique called Faux Suede.  You punch the flower out of the cardstock and then carefully pull it apart beginning at the edges to create two separate flowers that have the look of suede or a kind of worn look on one side.  This textured side of the flowers is the side that is shown on the card.  In the middle of the flower, I added a Vintage Faceted Button (#127555) with Linen Thread (#104199) tied in the middle of the button.


Blossom Punch
Blossom Punch (#125603)

Have fun trying out the Faux Suede technique on your next card!  Don't forget to check out the fabulous new items that are now available to order in the new Holiday Mini Catalog, as well.  Happy Stamping!


Tuesday, July 30, 2013

I love the new washi tape!

Washi Tape Card


Sorry it has been so long since my last post, but I will be back to posting more cards and ideas again.  The new Stampin' Up catalog is out, and it has many fabulous new items, such as washi tape and the hexagon punch I've used in the above card.
 
I used Whisper White cardstock (#100730) for the card base and background.  I used Crumb Cake cardstock (#120953) for the hexagons that have the greeting stamped on them and the Epic Day This and That DSP (#130814) was punched out and placed with dimensionals under the crumb cake hexagons. To stamp 'thinking of you,' I used both Calypso Coral and Early Espresso ink before punching it out. 
Hexagon Punch
Hexagon Punch (#130919)
This And That Epic Day Designer Series Paper
This and That Epic Day DSP (#130814)
 
Sweet Essentials Clear-Mount Stamp Set
Sweet Essentials Stamp Set (W#132085, C#126457)
 
To create the sponged look behind the greeting, I used the Calyspo Coral ink when sponging with the Honeycomb Embossing Folder (#129378) on Whisper White cardstock.  On the left side of the card, I tore various sizes of the Epic Day This and That Washi Tape (#131269) and placed the different colors of it on top of each other. 
Epic Day This And That Designer Washi Tape
This Epic Day This and That DSP and Washi Tape coordinate with the Epic Day This and That Journal (#131268), which is a great journal or book to add your pictures, notes, or other ideas to help create memories.  I'm having a great time add our vacation pictures into mine, so get one for yourself today, and have fun creating in it!


Tuesday, February 26, 2013

Ready for Spring


After all the snow we had lately, I was ready to create and bring some spring to my stamping, so I created this card using some of the things from the Stampin' Up Spring Mini catalog.  It makes a beautiful card for mom.
 
I started with So Saffrom paper as the card base.  To add texture and worn look to the edges of the papers, I ran the paper snips scissors (#103579) across each of the edges of the papers (First Edition Specialty DSP 121878, Lucky Limeade).
 
I cut the Tea for Two DSP (129311) into strips size 3 1/4"x1 1/2" and used adhesive to adhere them to the Very Vanilla before adding the textured impressions using the Vine Street folder from the Sale-a-Bration catalog.  Spend $50 and you can receive this impressions folder free through Sale-a-Bration!
 
I then stamped the small flowers (Language of Friendship W122750, C122752) into a cluster using So Saffron and Lucky Limeade on Very Vanilla, punched them out with the 1 1/4" circle punch and used the Vine Street impresions folder on these, as well as on the Lucky Limeade and So Saffron circles behind the flowers.
Language of Friendship - Clear-Mount Stamp Set - by Stampin' Up!
1-1/4 Inch Circle Punch - by Stampin' Up! 
Finall, I stamped Mom (Family Reunion W122710, C122712) and punched it out and added pearls around the word and in the middle of the flowers. 
Family Reunion - Clear-Mount Stamp Set - by Stampin' Up!
Don't forget to check out My Paper Pumpkin and Sale-a-Bration items!
Have a good week and happy stamping!


Sunday, February 17, 2013

Amazing Cheering


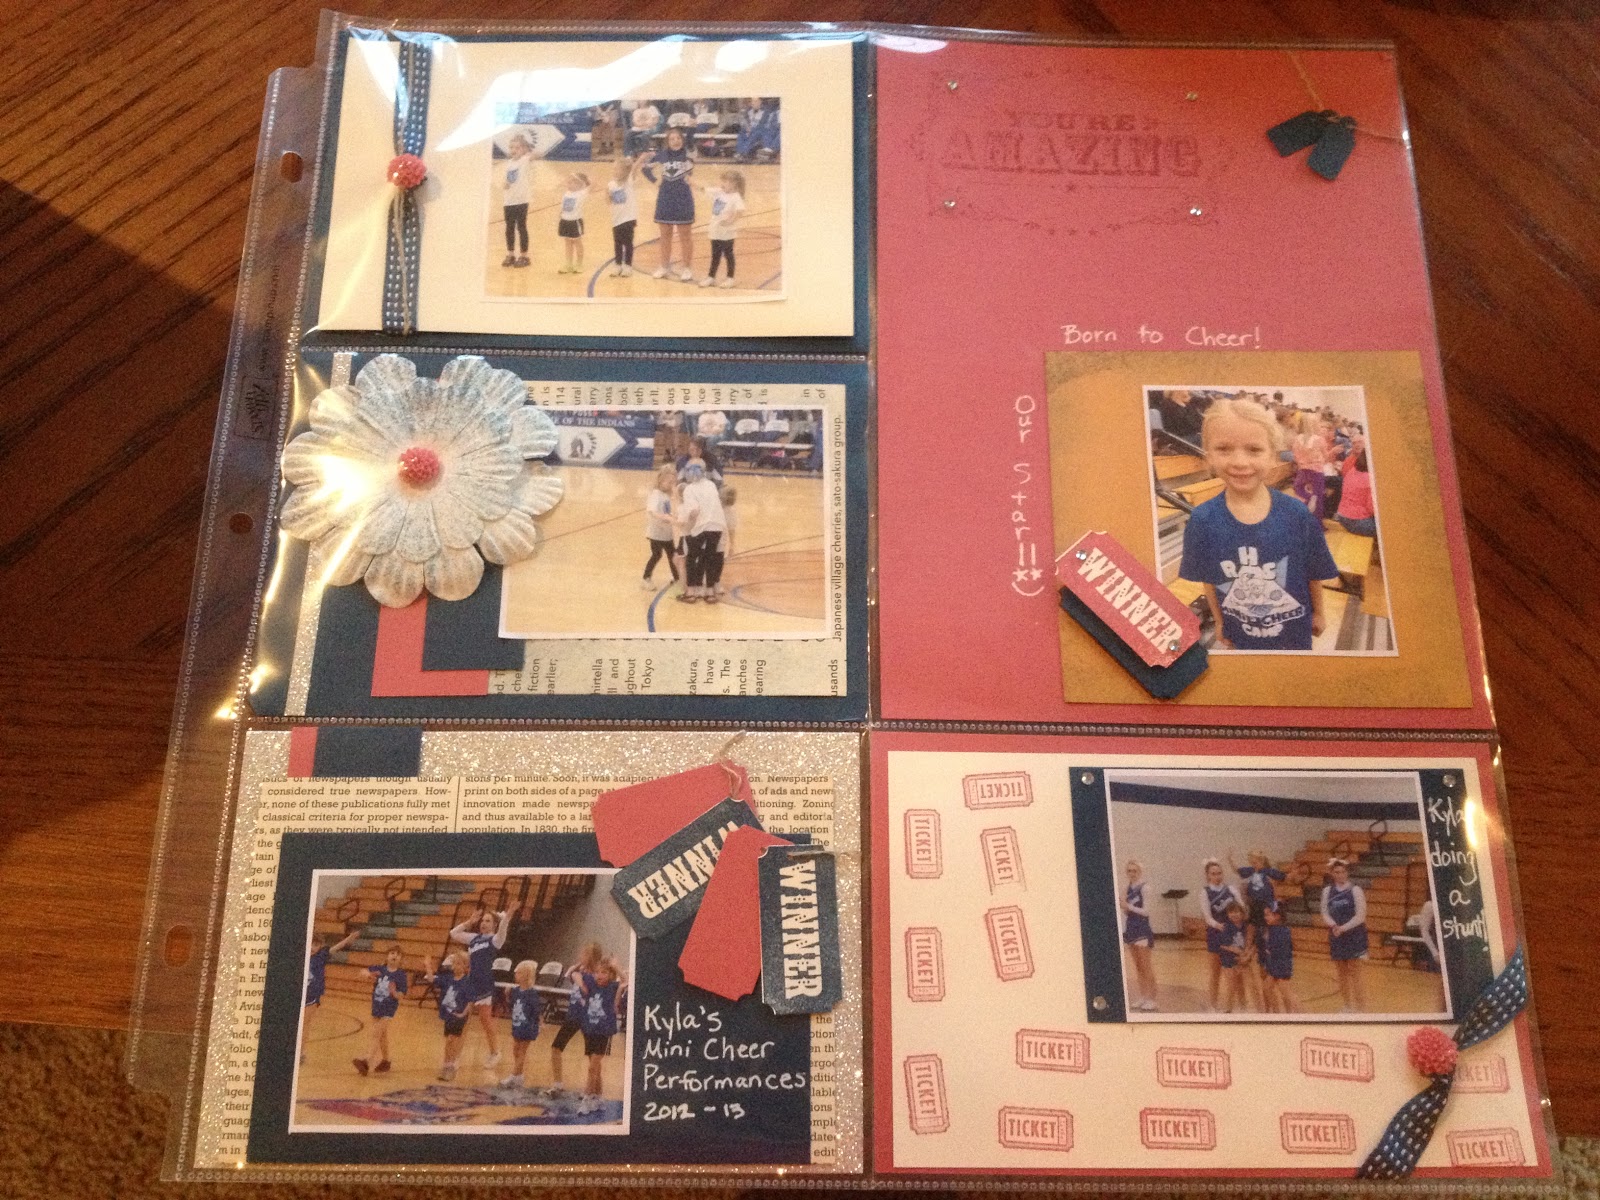
I love scrapbooking with Stampin' Up materials!  Here is my newest page!
My oldest daughter, Kyla, loves to cheer each school year at the mini cheer performance.  This is the page I created from the last two years of her mini cheer experiences. 
 
I started with one of the 12x12 divided page protectors in the current catalog.  There are 10 protectors in a pack (#127690).
I also created the background papers using the In-Colors.
 
Paper:  First Edition Specialty DSP, 2012-2014 In-Colors, Very Vanilla, Silver Glimmer Paper
Ink:  Primrose petals, Midnight Muse, Uni-ball Signo Gel Pen (105021)
Stamps:  You're Amazing (W126720, C126722)
You're Amazing Clear-Mount Stamp Set
Punches:  Ticket Duo Builder (126833), 1/16" Circle Handheld (101227)
Ticket Duo Punch
Accessories:  Stamping Sponges, Rhinestone Basic Jewels, Paper Daisies, 1/8" Mini Brads, In Color Dahlias, Linen Thread, Midnight Muse 3/8" Stitched Satin Ribbon
 
To create the flower on the page, I used the mini brad to hold the paper daisies together, placed a dahlia on top of the brad, and used the sponge and midnight muse ink around the edges. 
 
Enjoy and have fun creating a scrapbook page of your own with these materials!  Any of them can be ordered on my Stampin' Up website!


Wednesday, February 13, 2013

SU Paper Pumpkin

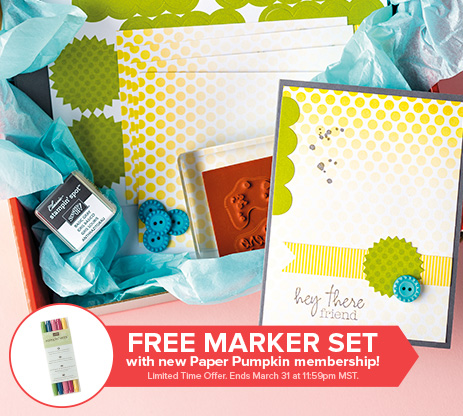
What a quick and simple card it was to create!  It also came with enough supplies to make 4 of these cards.
 
I'm just doing a quick post to show you an example of one of the new Stampin' Up Paper Pumpkins
These are projects that have the necessary supplies included in the box that will be shipped to you each month.
Sometimes we don't always have the time to cut out all of the supplies or to come up with an idea of what to make.  That's what makes these Paper Pumpkin projects nice.  If you are interested in more information on how to sign up for a monthly subscription to get a Paper Pumpkin then go to the Stampin' Up website or to www.mypaperpumpkin.com.